How to Make Comics The Big Skink Way!
By Brian • 16 October 2018
I’ve spent the last couple of weeks telling you about these crazy comics that I make. But, I haven’t told you how I do it. How does a comic develop from that fuzzy idea I had at 2 a.m., stumbling around in the dark, looking for the bathroom, to a finished product on somebody’s bookshelf or in their Facebook feed? Read on. Despite the impostor syndrome creeping its way into the corners of my subconscious as I write this, I would like to believe I have done enough work to be able to tell you a thing or two about my creative process and why it works for me.
The most important thing to remember is that this is a guide, not a set of rules. Everybody works in their own way, and only certain methods and tools work for certain people. No matter your passion, develop a system that plays to your strengths.
Pre-production
Pre-production is the work that comes before the work. Before I can start creating a comic, I have to figure out quite a few details in advance if I expect the work to be any good, and to make the actual creating much more streamlined. Trying to make a comic without pre-production is like trying to shop without a grocery list—wandering aimlessly for an indeterminate amount of time and returning home with a bunch of stuff I don’t need, and without a bunch of stuff I do need.
Idea – Every comic obviously starts with an idea, and ideas come from everywhere. The story I want to tell might be a galaxy-spanning sci-fi epic, inspired by far too much Star Trek and Star Wars. It might be teenage hijinks and coming-of-age set around the unlikely sport of dodgeball. Or, it might just be based on how I almost got hit by a car on my way home from work, because nobody knows how to handle pedestrians in Cape Girardeau. This is also where I consider the mood and genre. Action? Drama? Comedy? Comdramedy?
Story and Character Concepts – At this point, I try to figure out my beginning, middle, and end, and start to formulate my main cast of characters, what they are like at the beginning of the comic, and how I want the plot to affect the characters as the story progresses. For example, I wanted the husband in Six Legs, No Heart to start as a meek, indecisive milquetoast, but to grow into a hardened, world-weary warrior who must fight to preserve the life he’s built for himself. Without setting this goal initially and keeping it in mind as the work progressed, he may not have developed as well as he did, and would have been a less interesting character, as a result.
World-Building – This is where I figure out the type of world in which the story takes place, and the elements that bring it to life. [Mike and the Ninja *](https://www.mikeandtheninja.com){:target=”_blank”} didn’t really have a pre-production phase, as I had no idea what I was doing when I started it, and while I didn’t consciously do a lot of world-building until much later in the series, many of my creative decisions all contribute to this idea of a world so organized that it can’t help but be disorganized. For instance, there’s a chain of convenience stories called Sass ‘n’ Gas with employees so sassy, it’s hard for their customers to actually do any business with the stores. There’s a man made out of bees who is out for revenge, but the hivemind of the swarm is easily distracted by pollen. The Ninja Union and Truckers Union do not get along. And so on. *Nothing in this world works right, but it’s all put together really well, and never fails to contribute to the absurdity surrounding Mike and Stu’s adventures.
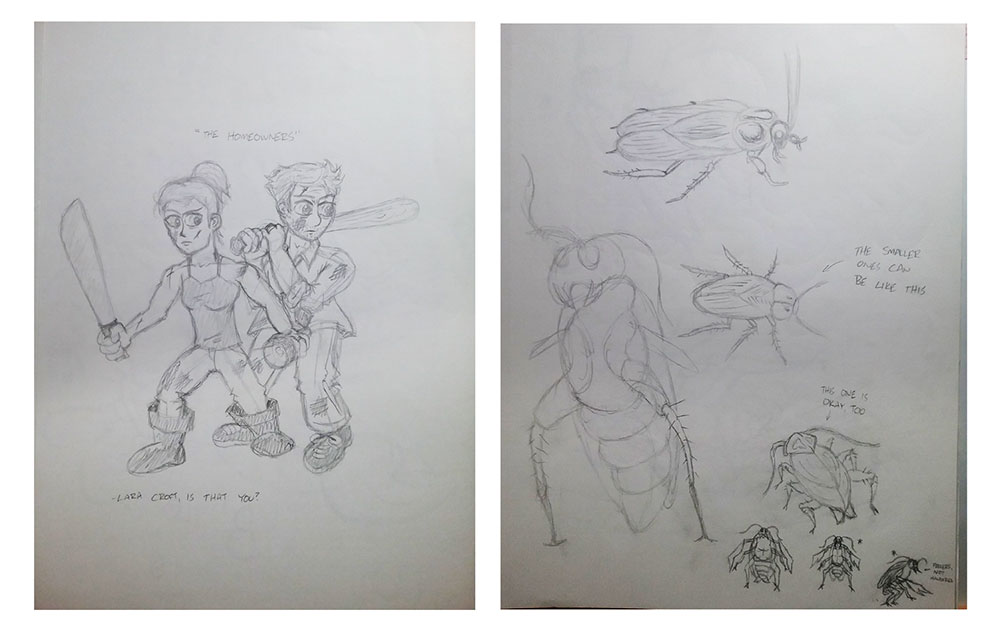
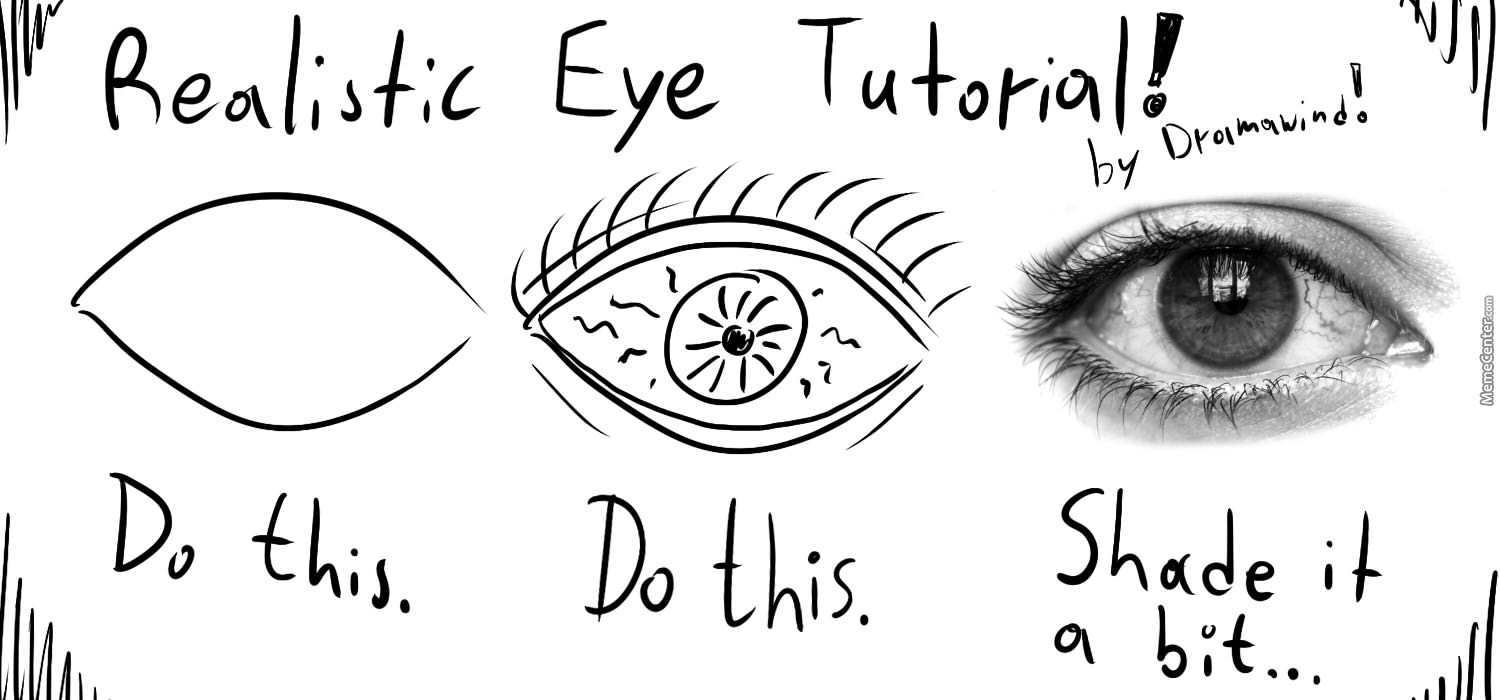
Concept Art – This is where I try to figure out what I want characters, settings, vehicles, and other things in the story to look like. I’ll start sketching until the look feels right, and go from there. As much as I like to draw, I’m not much of a doodler, so I really probably don’t spend enough time on concept art. I have to admit that a lot of my character designs come off as pretty similar to one another, so spending more time to develop defining features, body language, and clothing choices that better fit the personality of the characters is something I want to put more focus on in the future.
Writing
I know that the emphasis on comics is often on the drawings, but never underestimate the importance of good writing. Pretty pictures are nice, but if there isn’t good writing to tie them together, then they’re just pretty pictures and not sequential art. Look at XKCD or The Oatmeal. The artwork alone isn’t that impressive, but when paired with solid writing, they become great comics. The writing process is fairly easy to describe, but is far more complicated in practice.
Story Outline – My outline consists of the beginning, middle, and end that I figured out earlier, as well as all of the key plot points that connect the dots in-between. It helps to keep the story from flying off on wild tangents, and serves as a handy road map for what still needs to be covered. I didn’t get it through my immeasurably thick skull to start using an outline until the third *Mike and the Ninja *book. Unsurprisingly, the writing process for the third book was by far the smoothest of the three, so a proper outline is not to be overlooked.
Script – Normally, I script a page by determining how many panels are needed, numbering them, writing a description of what is happening in each panel, and writing dialogue, sound effects, or special instructions for layout, angle, or character placement. Again, Mike and the Ninja didn’t operate with scripts until probably 20 or 25 pages in, and it was painful to try to pace pages without them because I would end up with too much room left on the page with too little action to fill it, or the other way around. Having a script lets me know exactly when and where things need to happen on the page to maximize dramatic or comedic effect, and to minimize reader confusion.
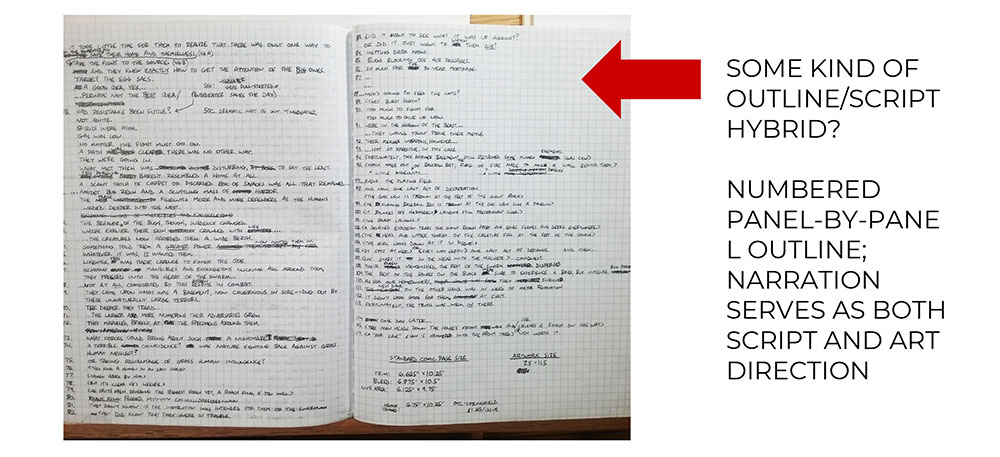
However, scripting doesn’t always have to follow this exact formula. Six Legs, No Heart was an exception to the rule in that it includes almost no dialogue, but a lot of narration. I wrote the narration first, broke it up into numbered points, and those points were also used as the panel descriptions and served as the outline for the book. I never wrote an actual script. The process never has to be set in stone, and can always be adjusted for a particular project.
Drawing
Here’s where things start to get really complicated for me, and hopefully interesting for you! While I don’t have the time to cover in detail all of the tools and processes that go into the drawing phase here, it’s a safe bet that a deep dive into all of the ins and outs of drawing will be featured in a future blog. For now, let’s cover my basic steps.
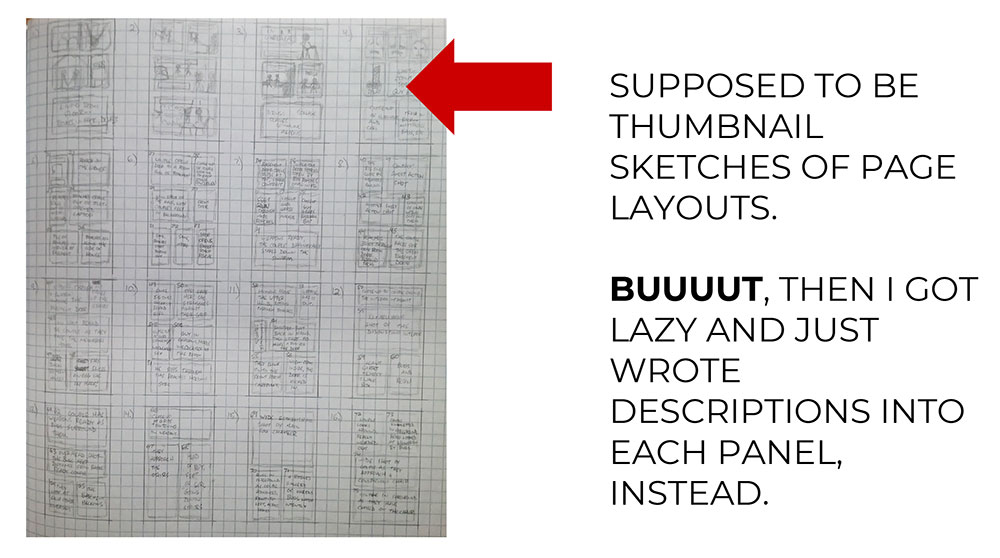
Page Thumbnails – This initial step of drawing typically accompanies script-writing. Page thumbnails are small, simple drawings of my page layouts. They act as pre-planning for drawing the page for real, and give me an idea of where the panels will go, how they will be laid out, and what will be included in each. The panels should include rough, loose sketches of the characters, setting, and actions of the scene. It’s easy to skip or rush this step, but I don’t recommend it! When drawing Six Legs, No Heart, I got lazy partway through my page thumbnails and started writing little descriptions in each panel, rather than roughing out the scene. There was a long period of time between when I drew the thumbnails and when I drew the pages for real; by the time I got to the thumbnails with the descriptions, I forgot my original vision for many of the panel layouts, and had to scramble to come up with new ones based on my vague, somewhat-illegible descriptions. I took a shortcut, and it backfired spectacularly. Had I not rushed and did my thumbnails properly in the first place, it would have saved me a lot of time and stress later on as my deadline approached.
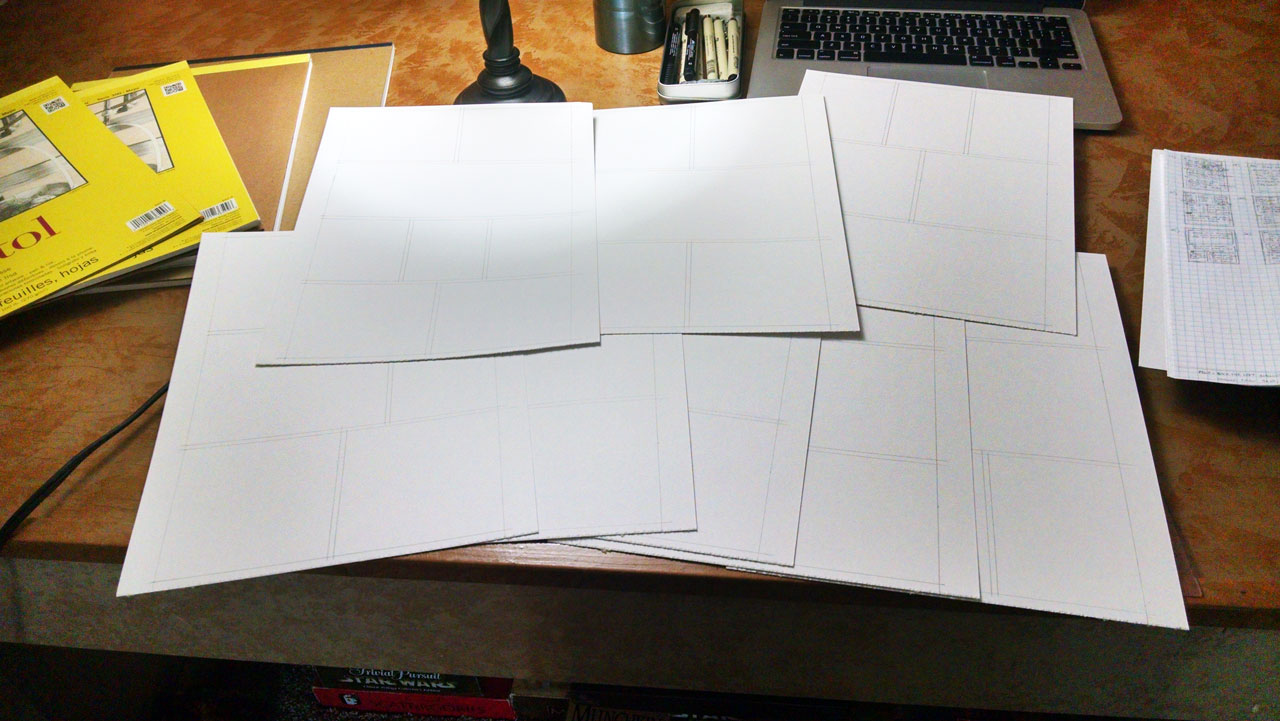
Page/Panel Layouts – I use a trusty straight-edge to draw all my panels for each page. It is tedious work—definitely not the fun part. Even with a straight-edge, I seem completely incapable of drawing straight lines. Parallel lines are even more out of the question. Perpendicular lines are possible only by act of God.
Penciling – Now we’re getting somewhere! This is where actual art finally makes its way to the page. Penciling is the most difficult step for me because it is easy for my perfectionist tendencies to take over and attempt to render the most beautiful images ever seen by man. The reality is that the penciled lines are only guidelines that are going to be inked over in one of the next steps, anyway, so while I don’t want to do a bad job here, this is not the final product, so perfection is not worth chasing here (or ever).
Hand Lettering – These are those fancy word balloons and big, bombastic sound effects that help define what we think of as comics. Lettering can be done by hand, or it can be done digitally. Either method is fine—hand lettering tends to have more character and uniqueness, but is more time-consuming, and is hard to keep nice and tidy and consistent without lots of practice. Digital lettering is more uniform, but can lack personality without *(again!) *a lot of practice and a great eye for design. Lettering is really tough, which is why there are comics professionals out there who who make livings working *solely *as letterers.
Inking – This is my favorite step of the process. Inking is where my penciled guidelines are made permanent by inking over them with a pen or brush. It’s technically kind of like tracing, but the tools and ink lines often have a personality of their own, so inking is also quite a challenge. Plus, varying thickness of line can dictate distance, shadows, weight, and emotion, so there is much more to it than just tracing.
Post-production
The work-by-hand is done. Here’s where technology takes over. I mean, I still have to use my hands to work the machines, but you know what I mean!
Scanning – My line art is scanned at high resolution and brought into Adobe Photoshop for digital manipulation. No, I don’t use it to make my characters thinner or to increase their bicep or bust sizes to obviously-doctored proportions.
Digital Touch-ups – No, what I actually do is clean up smears, smudges, and other boo-boos made while inking. Also, like I said earlier, inking tools and ink lines have minds of their own, so sometimes I have to correct errant lines or lines that were well-intentioned, but just don’t look right.

Digital Colors – Ah, coloring. Another skill in which I lack confidence. Because of this, I also often work in grayscale, but either way, digital coloring is exactly what it sounds like and, when used appropriately, can help set mood and dictate the emotion and personality of a character or scene. It’s why Batman wears a black cape and cowl instead of bright orange—that wouldn’t quite fit his brooding persona, now would it?
Digital Lettering – If I do my lettering digitally, instead of by hand, this is where I take care of that. I try to find some good, content-appropriate fonts and put those day-job graphic design skills to use in placing the word balloons and sound effects in such a way that it helps guide the reader through the page, and is as unobtrusive as possible. The challenge involved in digital lettering is that I have to plan ahead and leave room for it when creating the artwork. Otherwise, the lettering may cover up important details or obscure some of the action, making what should have been a great, hard-hitting panel look like too many action figures packed in too small of a box.
Distribution – I did all that work, but for what? Well, personal satisfaction, first and foremost, but also to get it into the hands of readers! I save my file, format it for print and/or digital, and get it out there for the world to see, either on one of my websites, on social media, printed in a book, or on a digital distribution service like Comixology.
That’s it! That’s how I make comics! Well, the short version, anyway. Every one of these phases (and even some of the individual steps) are certainly worthy of their own blog posts, and some of them probably will get their own posts one day. But this is the very basic information that you need to know how I work, and to become a comic artist yourself and immediately start outperforming me at the local comic convention. Do you have an idea for a comic knocking around in your noggin? What’s stopping you? Get out there and start creating, and I’ll see you next week!